
English 

P: +86-13851913099
E: sunnyqing@vip.163.com
E: sunnyqing@vip.163.com
NO.2, BAOTA ROAD,CHUNXI TOWN, GAOCHUN DISTRICT , NANJING, CHINA
Views: 0 Author: Site Editor Publish Time: 2025-09-09 Origin: Site


You can split rubber injection molding into three easy steps: material preparation, injection and molding, and cooling and demolding. Each step helps make parts very exact, even for small or tricky shapes. This process helps the automotive and industrial fields, which had a market size of $38 billion in 2023 and is still growing. You will learn why each step is important as you see how makers create flexible and strong products.
Rubber injection molding has three main steps. These are material preparation, injection and molding, and cooling and demolding. Each step is important for making strong and exact parts.
Picking the right rubber is very important. Different rubbers have special features. These features change how strong, bendy, or heat and chemical safe the part will be.
Keeping the same conditions during molding is key. This helps make sure the final products are all the same. Store rubber the right way. Check machine settings often.
Cooling is a very important step. It can take up to 80% of the whole process time. Good cooling stops the part from bending. It also helps the part keep its shape.
Checking molded parts often is very important. Look for problems like cracks or bubbles. Measure the parts to make sure they are the right size and work well.

The first thing you do is pick the right rubber. The rubber you choose changes how strong and bendy your part will be. You also need to think about how it handles heat, stretching, and chemicals. Look at this table to see some types of rubber and what they are used for:
| Rubber Type | Key Properties | Applications |
|---|---|---|
| Silicone | Heat-resistant, flexible, good electrical insulator | High-temperature environments |
| Nitrile Rubber | High resistance to oil and fuel | Automotive seals and gaskets |
| Natural Rubber | Good elasticity, easy to process | General-purpose applications |
| SBR | Cost-effective, good abrasion resistance | Tires and footwear |
When you pick a rubber compound, you decide how exact and fast the molding will be. Liquid silicone rubber is good for parts that need to handle heat or electricity. Using lsr injection molding helps you make parts with tight shapes. Picking the right rubber stops problems and helps your parts last longer.
Before putting rubber in the machine, you have to get it ready. You mix the uncured rubber with special agents and stabilizers. Sometimes, you warm up the rubber to help it mold better. These steps help the rubber flow well and cure the same way every time.
Tip: Keep your rubber in a room with steady temperature. This keeps it ready for molding and stops it from changing.
You can run into problems at this stage. Here is a table with some common issues:
| Challenge | Description |
|---|---|
| Material Selection and Compatibility | Picking the wrong rubber can cause defects or weak parts. |
| Tooling Design Complexity | Bad mold design can trap air or make the rubber cure unevenly. |
| Maintaining Dimensional Tolerances | Rubber changes size a lot when molded, so it is hard to keep parts the right size. |
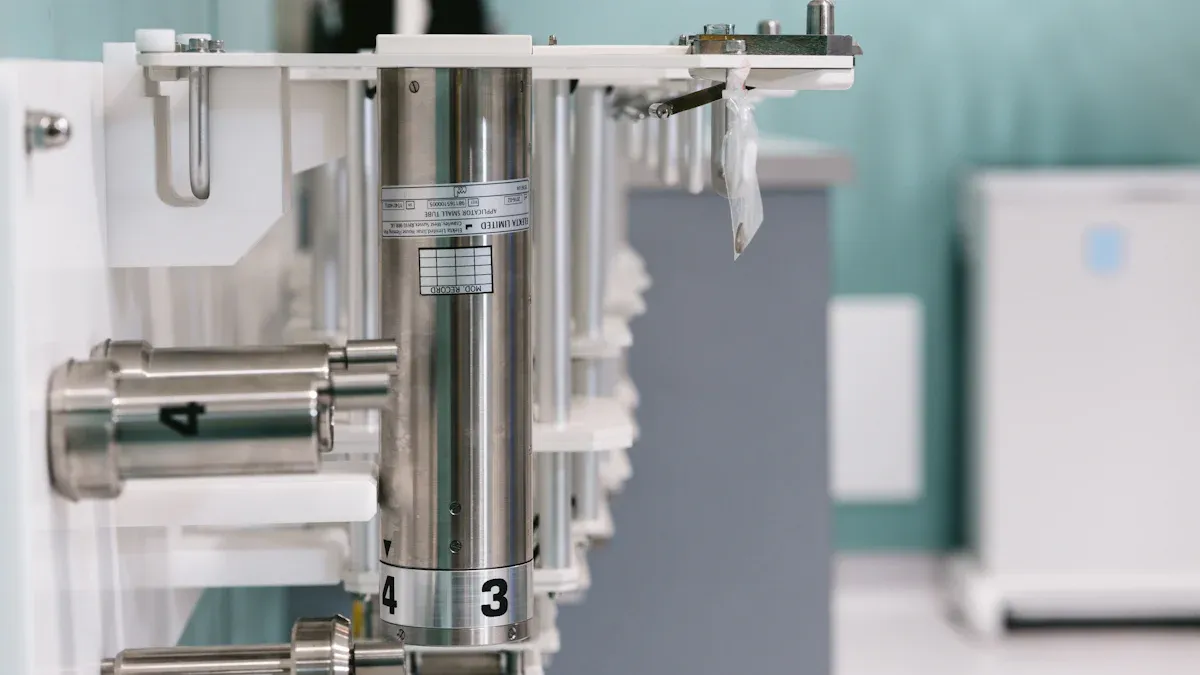
After you prepare the rubber, you put it in the machine. You usually use strips of uncured rubber. You place these strips into a screw that turns. The machine controls how much rubber goes in each time. The screw heats and mixes the rubber, making it soft and even.
It is important to keep the rubber the same every time. If you do, your parts will look and work the same in every batch. This cuts down on waste and helps you meet tough rules for cars and factories. For silicone rubber injection molding, keeping the liquid silicone rubber even is extra important. You want every part to handle heat and chemicals the same way.
Here are some steps to keep your rubber the same:
Store rubber in a room with steady temperature.
Take care of your machines and check them often.
Change your settings for each rubber type and part.
If you do these things, you have a better chance of making good parts every time.
First, you heat the rubber before starting. Most factories warm it to 400–570°F. This makes the rubber soft and easy to move. If you use liquid silicone rubber, keep the heat steady. This helps the material stay smooth.
When the rubber is hot, it goes into the mold. The machine pushes it through a nozzle. Sprues are like main roads for the rubber. They guide it from the machine to the mold. Runners connect the sprues to all mold parts. This makes sure rubber fills every space. Good sprue and runner design stops air bubbles. It also helps fill the mold evenly. This is important for strong, bendy parts.
If you use silicone rubber injection molding, watch the flow. Liquid silicone rubber moves fast and fills small spaces. You can make detailed shapes with lsr injection molding. But you must control pressure and speed.
Tip: Always check machine settings before you start. This helps stop problems like short shots or flashing.
Safety is very important during injection molding. Follow these steps to stay safe:
Do not touch machines except for safety doors and panels.
Wait for the machine to stop before fixing problems.
Only trained workers should use the equipment.
Keep your workspace clean and clear.
Wear the right clothes and check tools first.
Turn off equipment when done, unless told not to.
If you see alarms or emergencies, use the stop button. Call for help right away. Never reach into closed safety doors while the machine runs.
After injection, the mold fills up with rubber. The mold stays hot to shape and cure the rubber. The heat starts vulcanization. This means curing agents form cross-links in the rubber. You must control time and temperature. If not, you get weak spots or uneven hardness.
Mold temperature changes how your part turns out. If it is below 80°C, molding does not work well. You get the best strength at the right temperature. At 200°C, fillers like carbon black spread better. This changes the rubber’s electrical properties.
Here is a table with common mold materials and their properties:
| Material | Properties | Advantages | Disadvantages |
|---|---|---|---|
| TPE | Blend of plastic and rubber, stretchable, recyclable | Easier and less expensive to mold | Susceptible to creep, loses properties at high temperatures |
| TPU | Rubber-like elasticity, good load-bearing capabilities | Can replace hard rubber, withstands ozone exposure | More expensive than other materials |
Pick the right mold material for your product. TPE is good for simple, flexible parts. TPU is stronger and lasts longer but costs more.
Troubleshooting is part of every molding job. If you smell burnt rubber, purge the machine and lower the heat. If parts stick in the mold, sandblast or polish the tool. You can also increase the draft angle. For color problems, increase screw speed. If you see flashing, check shot size and clamp pressure.
Note: Keep good records of your process. This helps you find and fix problems faster.
Here are some common issues and solutions:
| Observation | Cause | Solution |
|---|---|---|
| Burnt Smell | Degraded material | Purge machine, lower temperature |
| Part Sticks | Not enough force | Sandblast, polish, increase draft |
| Non-Uniform Color | Poor mixing | Increase screw speed |
| Shorts | Blockage or low shot size | Lower feed zone temperature |
| Flashing | Too much material | Check shot size, clamp pressure |
You can make great parts if you control mold temperature, use the right materials, and follow safety rules. Rubber injection molding helps you make flexible, strong products for many uses.
You need to let the rubber part cool down. Cooling takes the most time in injection molding. About 80% of the cycle is cooling. Thick parts take longer to cool than thin ones.
Cooling too fast can bend or change the part.
Cooling slowly helps the rubber relax inside.
Put heat-sensitive parts on flat trays after molding. This stops them from changing shape.
Let the part cool in the mold with pressure. This keeps its shape and size right. Many factories use annealing after molding. Annealing lowers stress in the product. How fast you cool changes where stress goes. Slower cooling puts more stress along the flow path.
Note: Good cooling channels and mold materials that move heat well help parts cool faster. More coolant flow also helps cooling.
Here is a table with things that affect cooling and demolding:
| Factor | Description |
|---|---|
| Product design | Thicker walls need more time to cool. |
| Mold materials | Materials that move heat well cool parts faster. |
| Cooling channel design | More channels make cooling quicker. |
| Coolant flow rate | Faster flow cools parts more quickly. |
| Processing temperature | Higher temperatures mean longer cooling times. |
| Demolding methods | Good ejector pin spots stop parts from changing shape. |
When you use silicone rubber injection molding, cooling is important. It helps keep the shape of liquid silicone rubber parts. You must control cooling speed to stop problems.
After cooling, take the part out of the mold. Be gentle so you do not break it. Follow these steps:
Wear safety glasses and rubber gloves.
Mix water, detergent, and a spoon of vinegar for cleaning.
Soak the rubber part for five minutes.
Use a bristle brush to scrub the mold if needed.
Rinse the part and dry it with a microfiber cloth.
Be careful with bleach. Too much bleach can hurt rubber seals over time. Only use bleach when you need it.
Check each part after you take it out. Use these ways to inspect:
Look for cracks and bubbles.
Feel the surface for problems you cannot see.
Measure the part to check the size.
Use tests that do not hurt the part to check inside.
Test strength and how well the part resists wear.
Test parts during and after making them. This helps you find problems early.
Here is a table with common problems and how to find them:
| Defect Type | Description | Detection Method |
|---|---|---|
| Splay | Light or white lines from water in the material. | Test for water and control the molding process. |
| Sink | Dips from uneven cooling. | Watch cooling speed and change mold temperature and pressure. |
| Contamination | Bad materials in the product. | Clean the machine before and after jobs to stop contamination. |
When you use lsr injection molding, check liquid silicone rubber parts carefully. This helps you find problems and keep quality high.
You can make strong and bendy rubber parts in three steps. First, you get the material ready. Next, you inject and mold it. Last, you cool and remove the part. Rubber injection molding is fast and makes little waste. It also helps you make parts that are the right size. Here are some good things about this process:
| Advantage | Description |
|---|---|
| Efficient process | Made to work quickly and save time |
| High-precision products | Makes parts that are all the same size |
| Minimal waste | Uses almost all the material with little left over |
New machines and better materials let you make tricky shapes fast. You can use what you learn to try rubber projects or make your work better.
You can use silicone, nitrile, natural rubber, or SBR. Each type has special strengths. Silicone handles heat well. Nitrile resists oil. Natural rubber stretches easily. SBR costs less and resists wear.
Tip: Use mold release agents or polish the mold surface. You can also increase the draft angle. These steps help you remove parts easily and keep their shape.
Cooling takes time because rubber holds heat. Thick parts need more time to cool. Good cooling channels and fast coolant flow help speed up the process.
You can look for cracks, bubbles, or color changes. Measure the part size. Use non-destructive tests to check inside. Test strength and wear resistance to make sure the part works well.
